Batch resize portrait and landscape images and save them as a ZIP
Resize a batch of JPG and PNG images in your browser. Fit both orientations within 600 × 600 pixels without changing their aspect ratios, then check the dimensions in the saved ZIP.
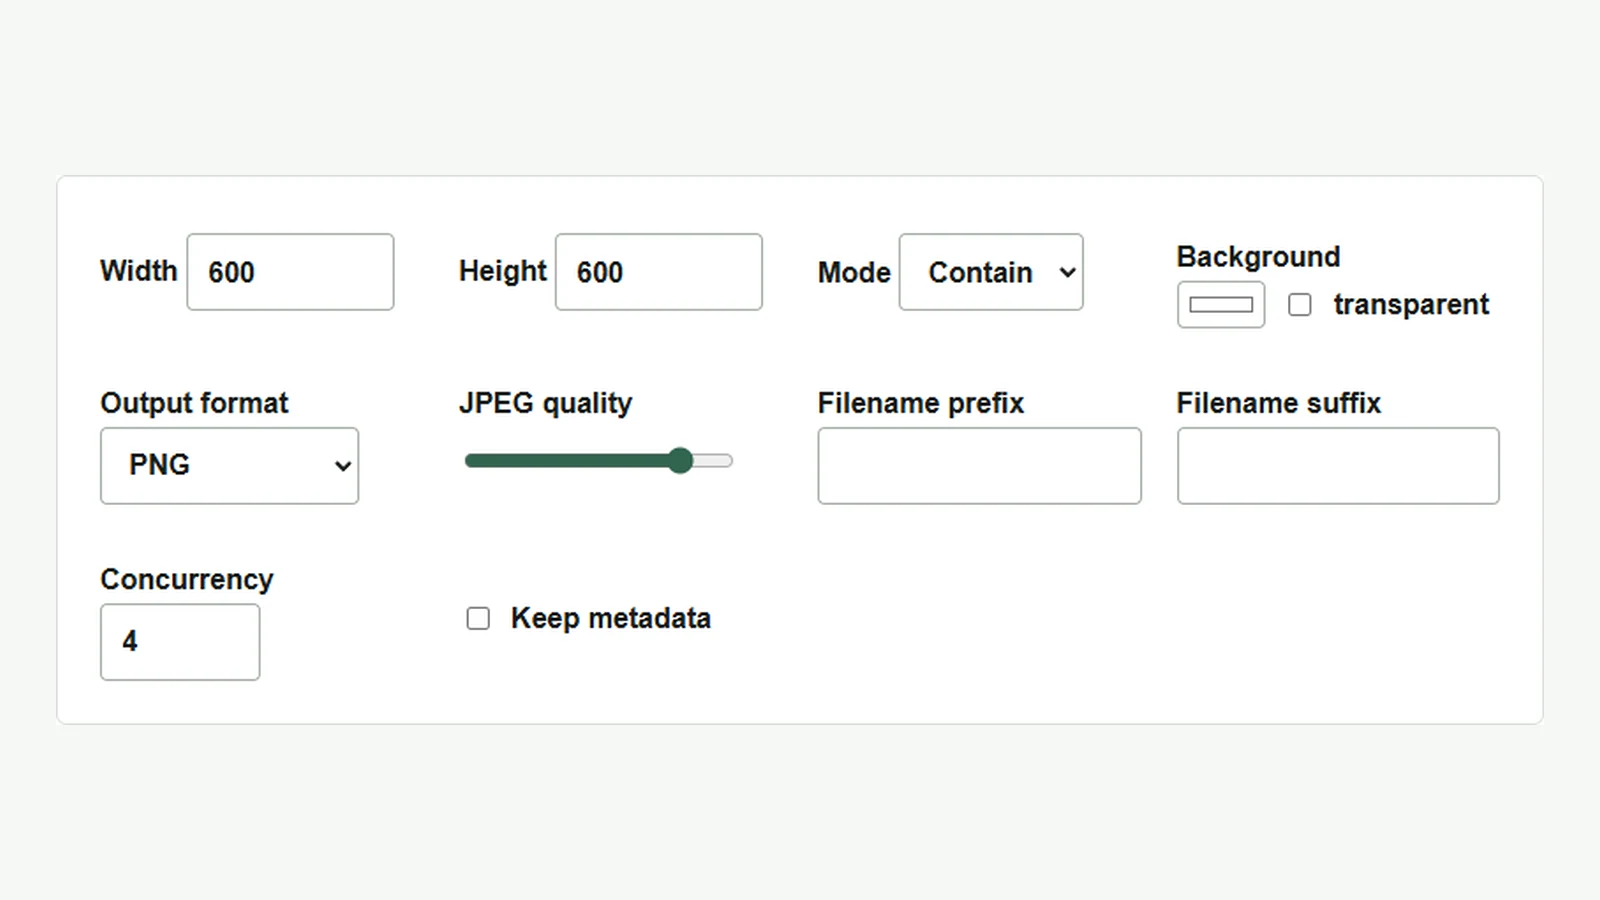
When preparing images for a listing page, setting a common length for the longest side makes mixed portrait and landscape images easier to handle. Use the batch image resizer to set that length to 600 pixels while preserving each image’s aspect ratio. Everything from loading the images to creating the ZIP happens in your browser.
Keep the original aspect ratio
This example uses a landscape image, landscape.jpg (1200 × 800), and a portrait image, portrait.png (800 × 1200). You can try the same steps with your own JPG or PNG files. The screenshots show the English interface; controls are in the same positions in other languages.
- Enter
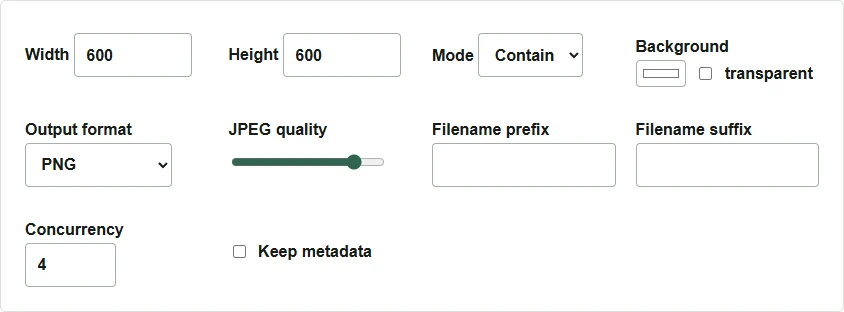
600in both “Width” and “Height”. - Under “Mode”, choose “Contain”. This fits the image within the specified width and height while preserving its aspect ratio.
- Set “Output format” to “PNG”. To save each image in its original format, choose “Keep original”.
Add images and save the ZIP
- Select the two files with “Add images”. You can also drag and drop them.
- Check the dimensions in the preview. The landscape image shows
1200x800 → 600x400and the portrait image shows800x1200 → 400x600. - Click “Resize all and save ZIP” and leave the tab open until processing finishes.
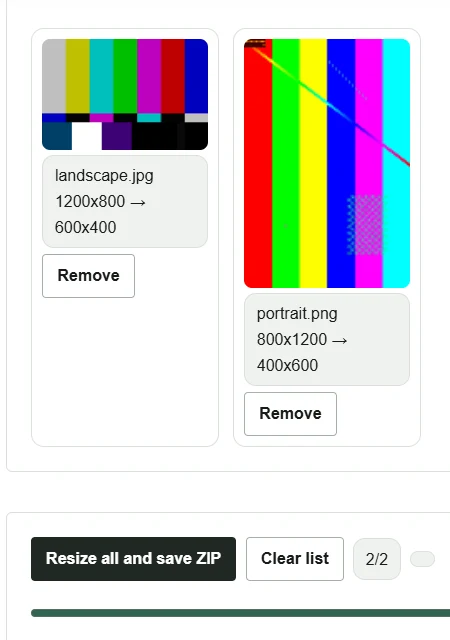
Extract the downloaded resized-images.zip to find landscape_600x400.png and portrait_400x600.png. If you need two 600 × 600 files, “Stretch” produces exactly those dimensions. It changes the aspect ratio of non-square images. To preserve the shape of the subject, use “Contain” to match the longest sides, then add padding in an image editor if you need a square canvas.
Larger originals and bigger batches use more browser memory. If processing stops, try adding fewer images at a time.